> ## Documentation Index
> Fetch the complete documentation index at: https://docs.groupflow.app/llms.txt
> Use this file to discover all available pages before exploring further.
# Photo Gallery
> Show a grid of photos on a page, which visitors can page through and open full size
A **Photo Gallery** shows your photos as a grid of square tiles. A visitor can click any photo to see it full size, and step through the whole gallery from there. A gallery holds up to 200 photos, and shows them a page at a time.
 ## Adding a gallery
Turn on [Edit Mode](/website/edit-mode) and go to the page.
Select the page's **Main Section**, then tap **Photo Gallery** in the **Element Library**. Press **Save Elements**. See [Adding, moving, and removing elements](/website/edit-mode#adding-moving-and-removing-elements).
Click **Photo Gallery** in the list of elements to open its editor, then add your photos.
You can also add a gallery inside a column of a [Two Columns](/website/elements#two-columns) element. Until it has a photo, the gallery doesn't appear on your website.
## Adding photos
To add several photos at once, drop them onto **Drop photos here, or browse**, or click it to choose them. Each photo is added to the end of the gallery, and the list below shows **Uploading…** and then **Added** beside each file. JPEG, PNG, GIF, WebP, HEIC and AVIF photos are accepted, and large photos are resized automatically.
A gallery holds at most 200 photos. If you add more than there is room for, GroupFlow adds as many as fit and tells you how many were left out.
To add one photo at a time, press **Add Photo** at the bottom of the list, choose the image, and press **Save**. See [Choosing an image](/website/elements#choosing-an-image).
## Arranging photos and setting alt text
## Adding a gallery
Turn on [Edit Mode](/website/edit-mode) and go to the page.
Select the page's **Main Section**, then tap **Photo Gallery** in the **Element Library**. Press **Save Elements**. See [Adding, moving, and removing elements](/website/edit-mode#adding-moving-and-removing-elements).
Click **Photo Gallery** in the list of elements to open its editor, then add your photos.
You can also add a gallery inside a column of a [Two Columns](/website/elements#two-columns) element. Until it has a photo, the gallery doesn't appear on your website.
## Adding photos
To add several photos at once, drop them onto **Drop photos here, or browse**, or click it to choose them. Each photo is added to the end of the gallery, and the list below shows **Uploading…** and then **Added** beside each file. JPEG, PNG, GIF, WebP, HEIC and AVIF photos are accepted, and large photos are resized automatically.
A gallery holds at most 200 photos. If you add more than there is room for, GroupFlow adds as many as fit and tells you how many were left out.
To add one photo at a time, press **Add Photo** at the bottom of the list, choose the image, and press **Save**. See [Choosing an image](/website/elements#choosing-an-image).
## Arranging photos and setting alt text
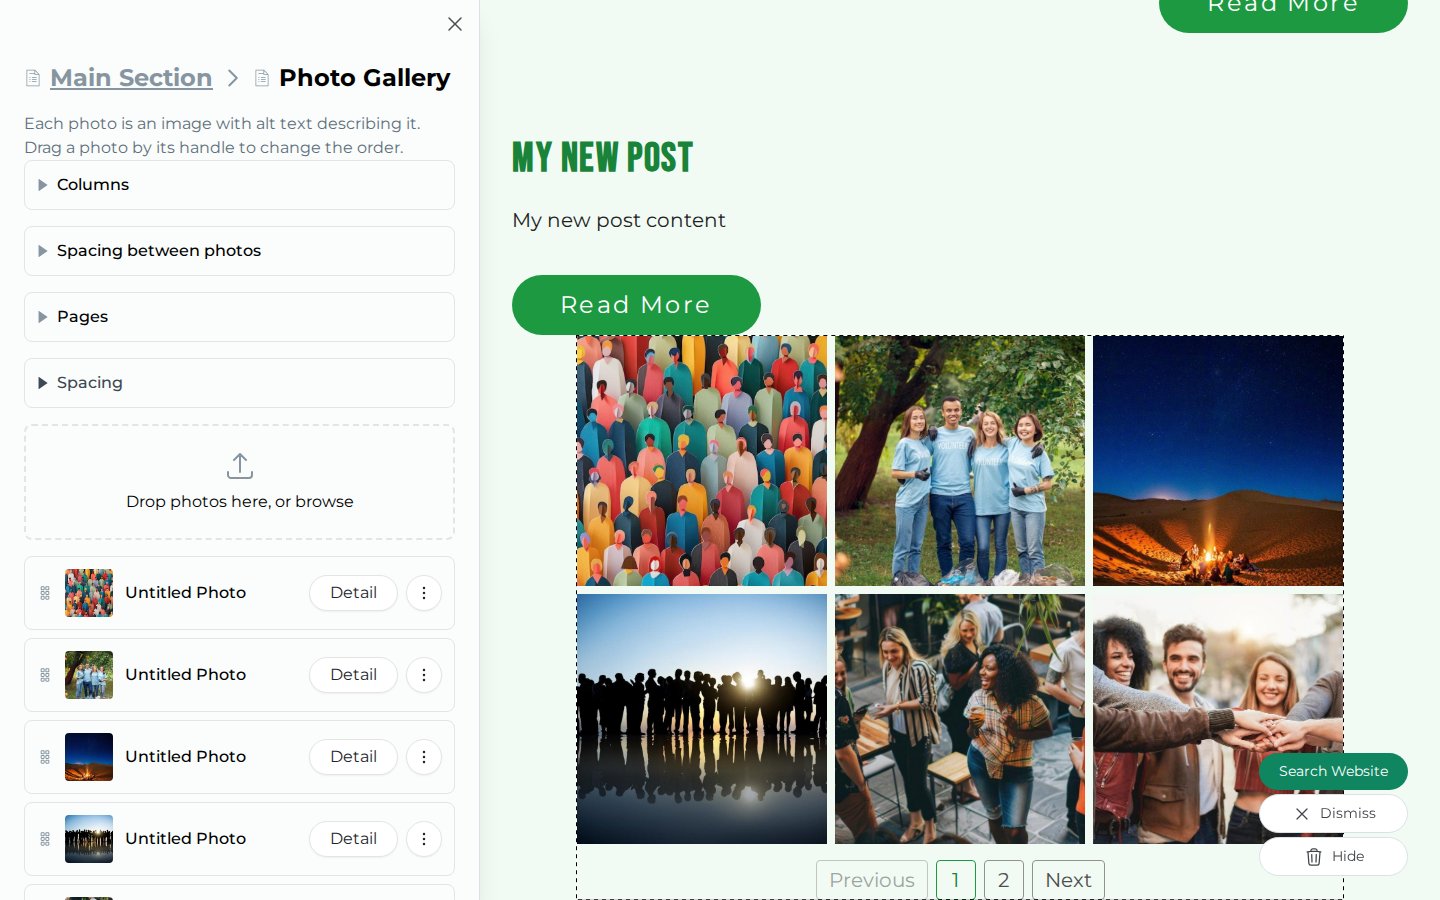 The gallery's editor lists its photos in order:
* **Reorder** — Drag a photo by its handle to a new place in the list.
* **Set the alt text** — Press **Detail** beside a photo, enter its **Alt text**, and press **Save**. Alt text is a short description of the photo, which screen readers read aloud to people who can't see it. Give every photo alt text.
* **Delete** — Open the photo's menu and choose **Delete Photo**.
## Columns and spacing
The gallery's editor lists its photos in order:
* **Reorder** — Drag a photo by its handle to a new place in the list.
* **Set the alt text** — Press **Detail** beside a photo, enter its **Alt text**, and press **Save**. Alt text is a short description of the photo, which screen readers read aloud to people who can't see it. Give every photo alt text.
* **Delete** — Open the photo's menu and choose **Delete Photo**.
## Columns and spacing
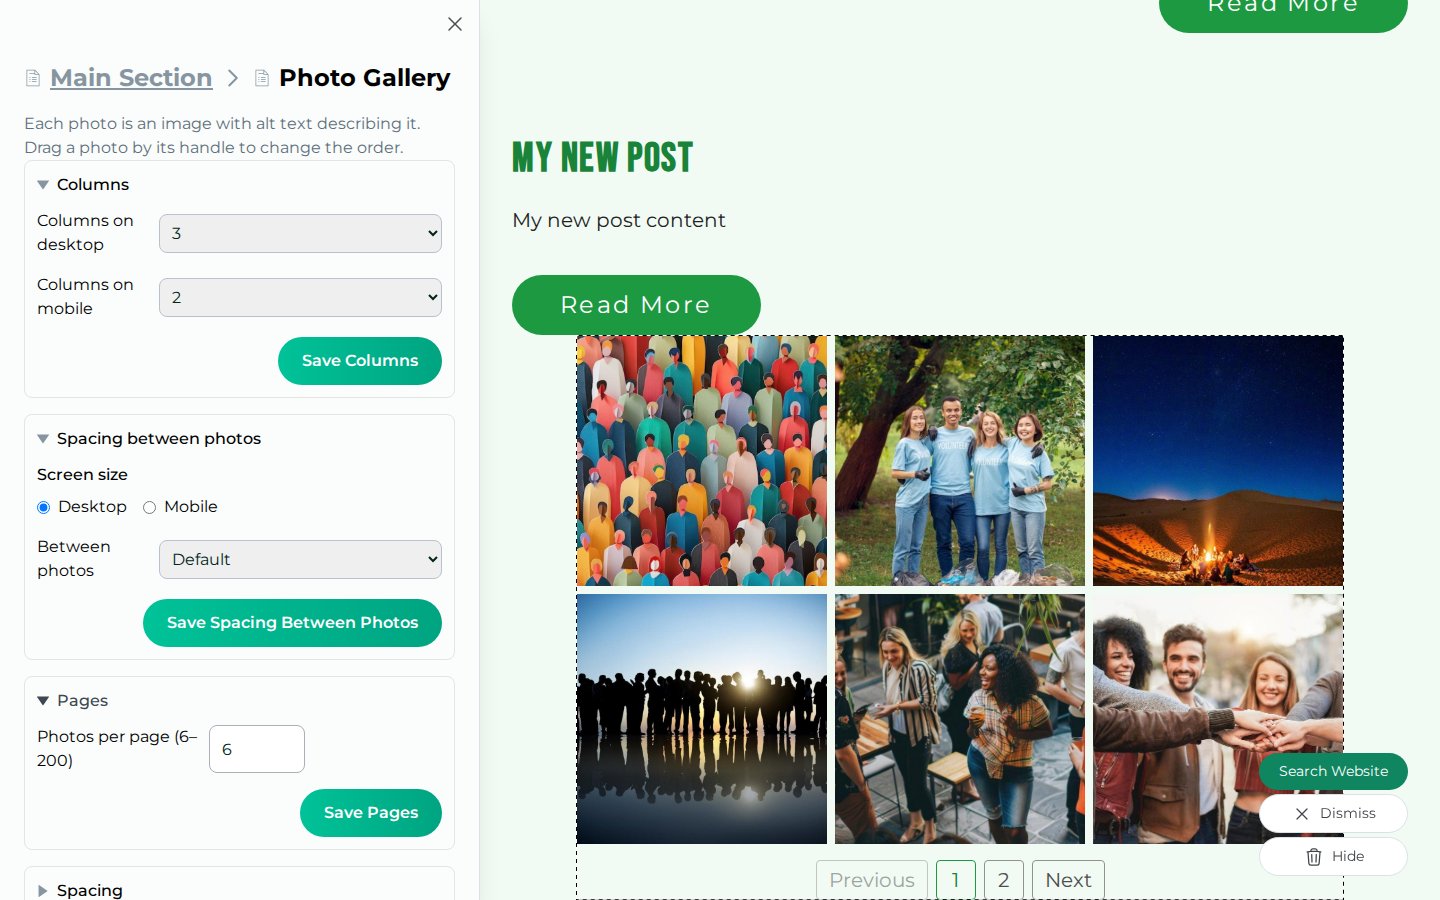 Each setting is in its own section of the editor. Click the section's name to open it, and press its save button to apply it.
* **Columns** — **Columns on desktop**, from 1 to 6 (3 to start with), and **Columns on mobile**, from 1 to 3 (2 to start with). Press **Save Columns**.
* **Spacing between photos** — The gap between the photos: a size from 0 to 128 pixels, or **Default**. Choose **Desktop** or **Mobile** under **Screen size** to set each one; on **Mobile**, **Same as desktop** reuses the desktop gap. Press **Save Spacing Between Photos**.
* **Spacing** — The room around the whole gallery. See [Spacing](/website/elements#spacing).
## Pages and the full-size view
**Pages** sets **Photos per page**, from 6 to 200. A new gallery shows 24 photos to a page. Press **Save Pages**.
When a gallery has more photos than fit on one page, visitors see numbered page buttons below it, with **Previous** and **Next**. A gallery with no more photos than **Photos per page** shows them all, with no page buttons.
Clicking a photo opens it full size, over the page.
Each setting is in its own section of the editor. Click the section's name to open it, and press its save button to apply it.
* **Columns** — **Columns on desktop**, from 1 to 6 (3 to start with), and **Columns on mobile**, from 1 to 3 (2 to start with). Press **Save Columns**.
* **Spacing between photos** — The gap between the photos: a size from 0 to 128 pixels, or **Default**. Choose **Desktop** or **Mobile** under **Screen size** to set each one; on **Mobile**, **Same as desktop** reuses the desktop gap. Press **Save Spacing Between Photos**.
* **Spacing** — The room around the whole gallery. See [Spacing](/website/elements#spacing).
## Pages and the full-size view
**Pages** sets **Photos per page**, from 6 to 200. A new gallery shows 24 photos to a page. Press **Save Pages**.
When a gallery has more photos than fit on one page, visitors see numbered page buttons below it, with **Previous** and **Next**. A gallery with no more photos than **Photos per page** shows them all, with no page buttons.
Clicking a photo opens it full size, over the page.
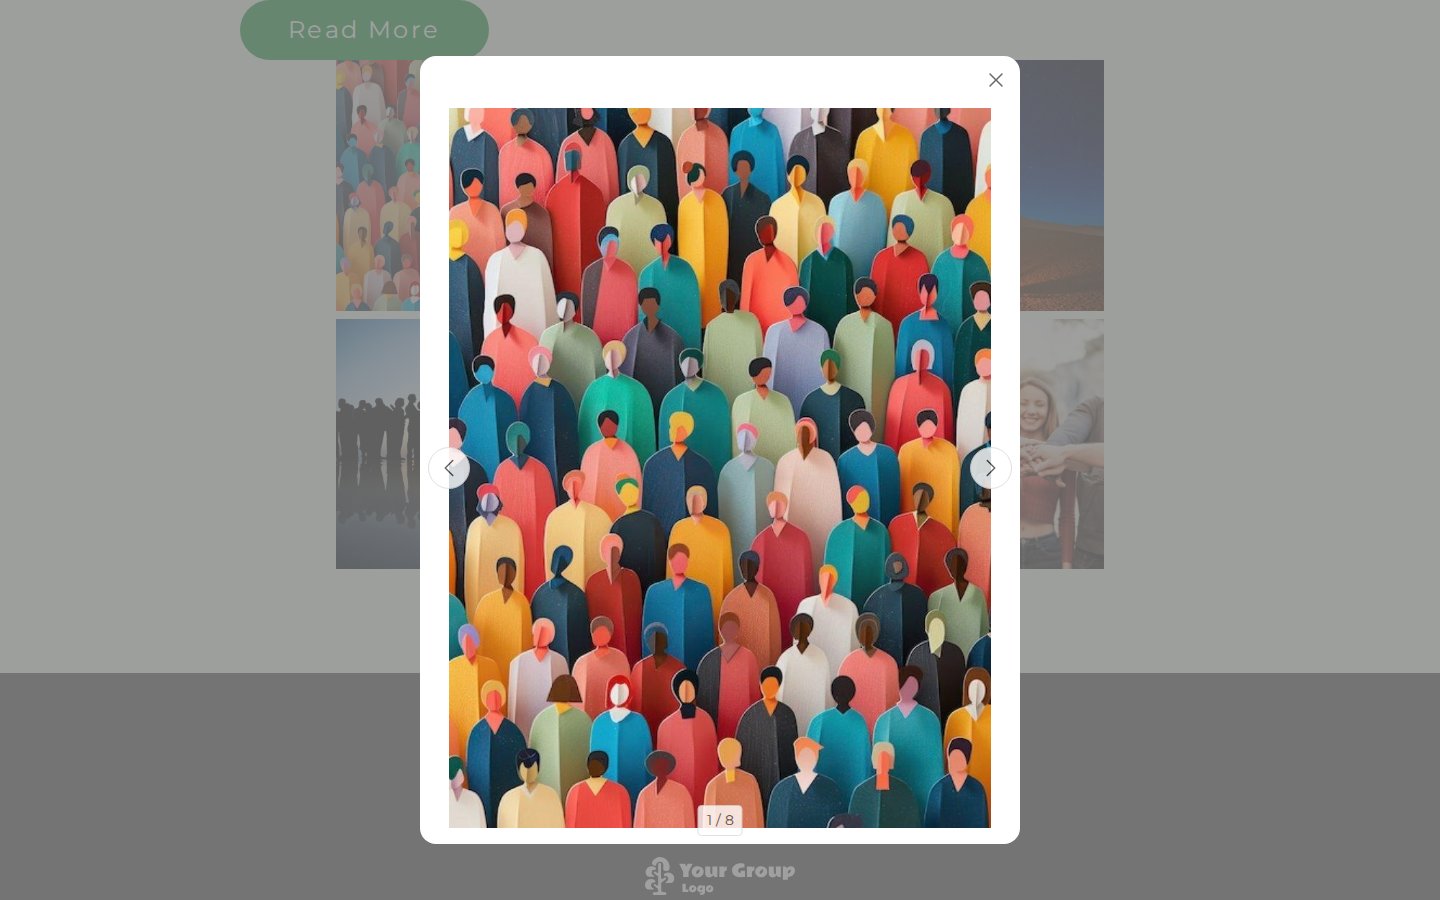 * The arrows on each side, the left and right arrow keys, or a swipe on a phone, step to the previous or next photo. They step through every photo in the gallery, not only the ones on the current page, and go from the last photo back to the first.
* The count below the photo, such as **1 / 8**, shows where it is in the gallery.
* When the visitor closes the photo, the gallery shows the page holding the last photo they looked at.
This documentation is built and hosted on [Mintlify](https://mintlify.com), a developer documentation platform.
* The arrows on each side, the left and right arrow keys, or a swipe on a phone, step to the previous or next photo. They step through every photo in the gallery, not only the ones on the current page, and go from the last photo back to the first.
* The count below the photo, such as **1 / 8**, shows where it is in the gallery.
* When the visitor closes the photo, the gallery shows the page holding the last photo they looked at.
This documentation is built and hosted on [Mintlify](https://mintlify.com), a developer documentation platform.